

NOTEArchived at v0.1 (2026-08-07) — frozen, not actively maintained. This design is retired from active CI to save render cycles. To improve it, fork the repo, update it against current CI, and contribute it back as a derivative per the repo's lineage tracking (see also CLAUDE.md → "Archived designs").
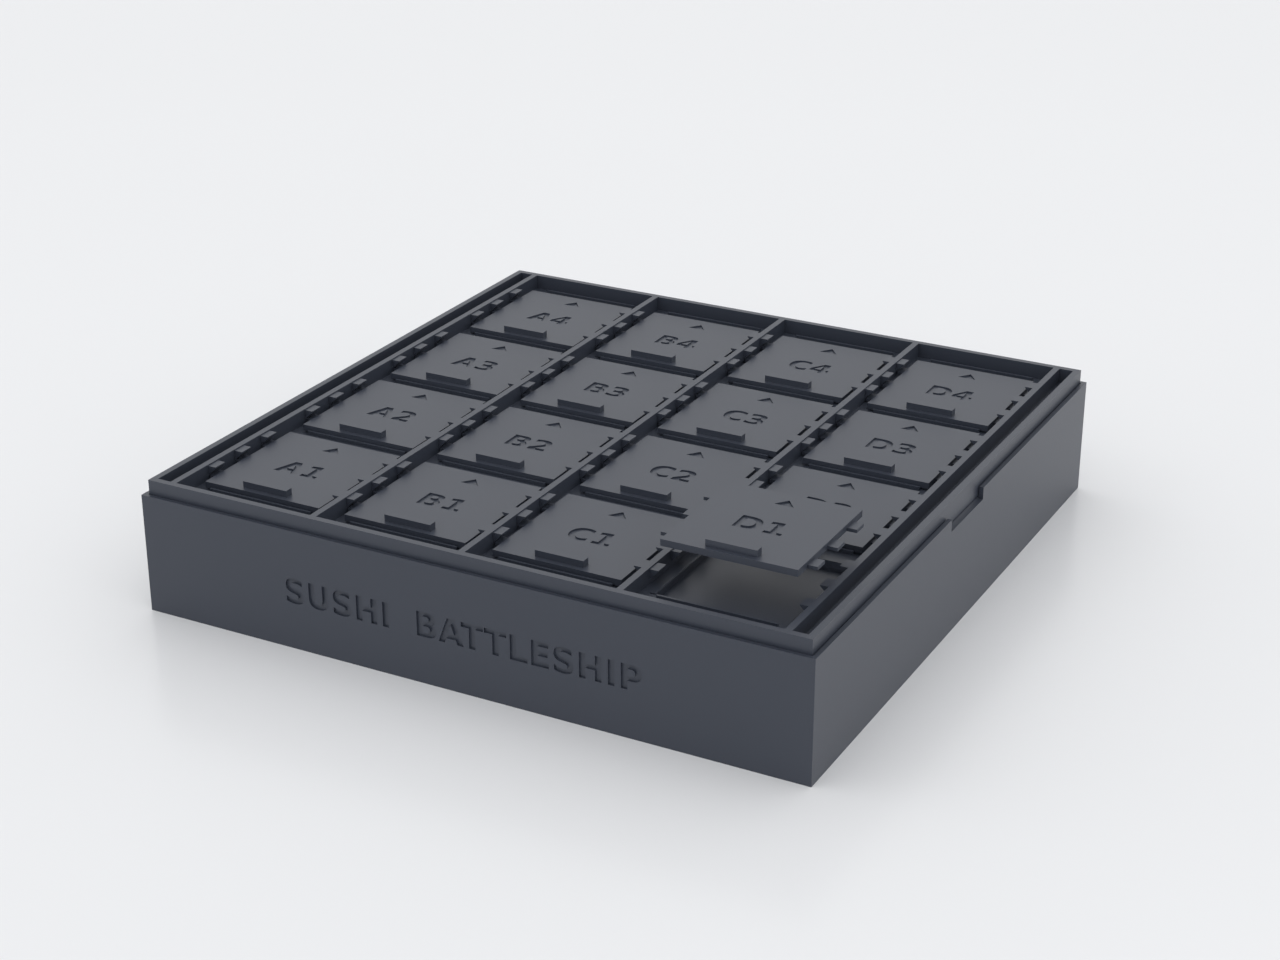
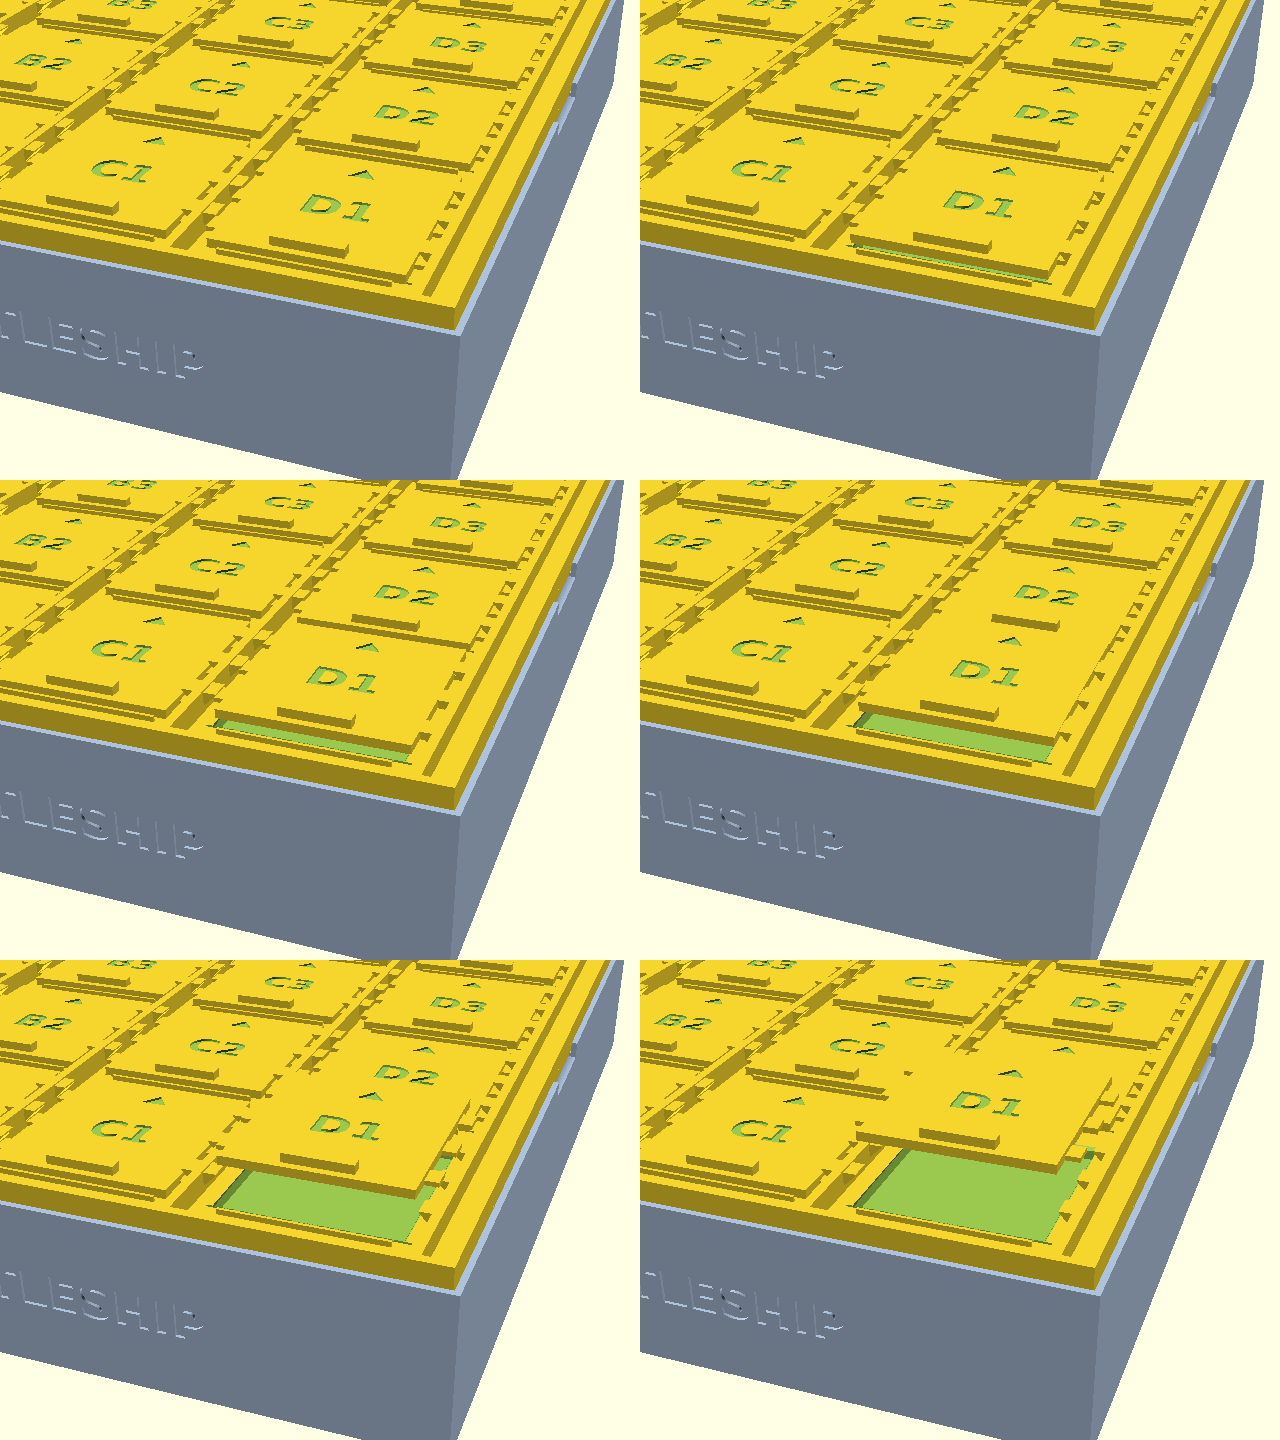
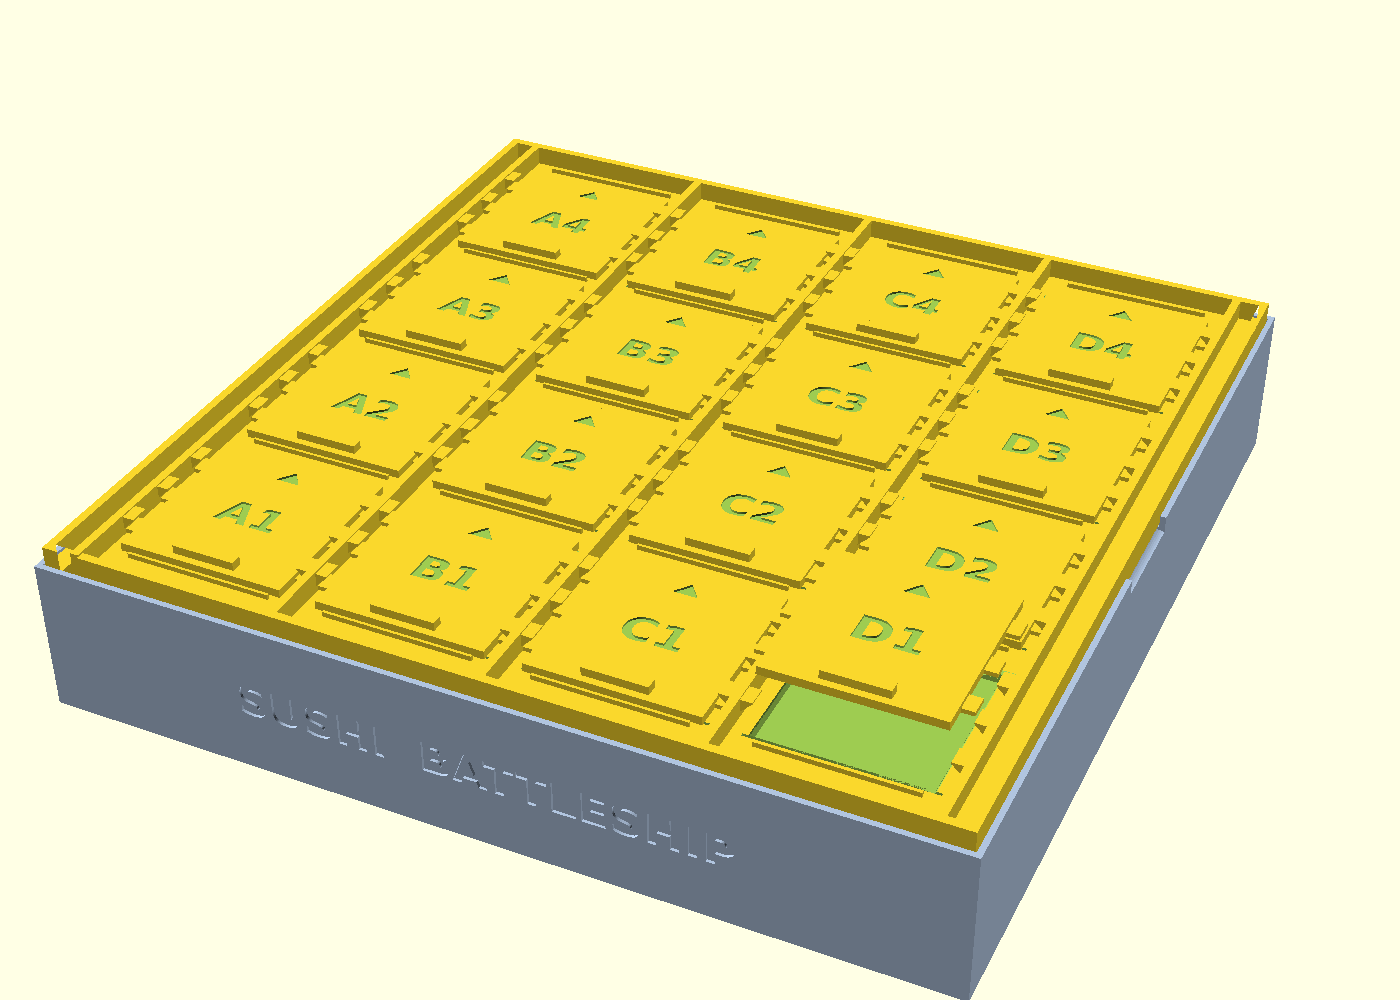
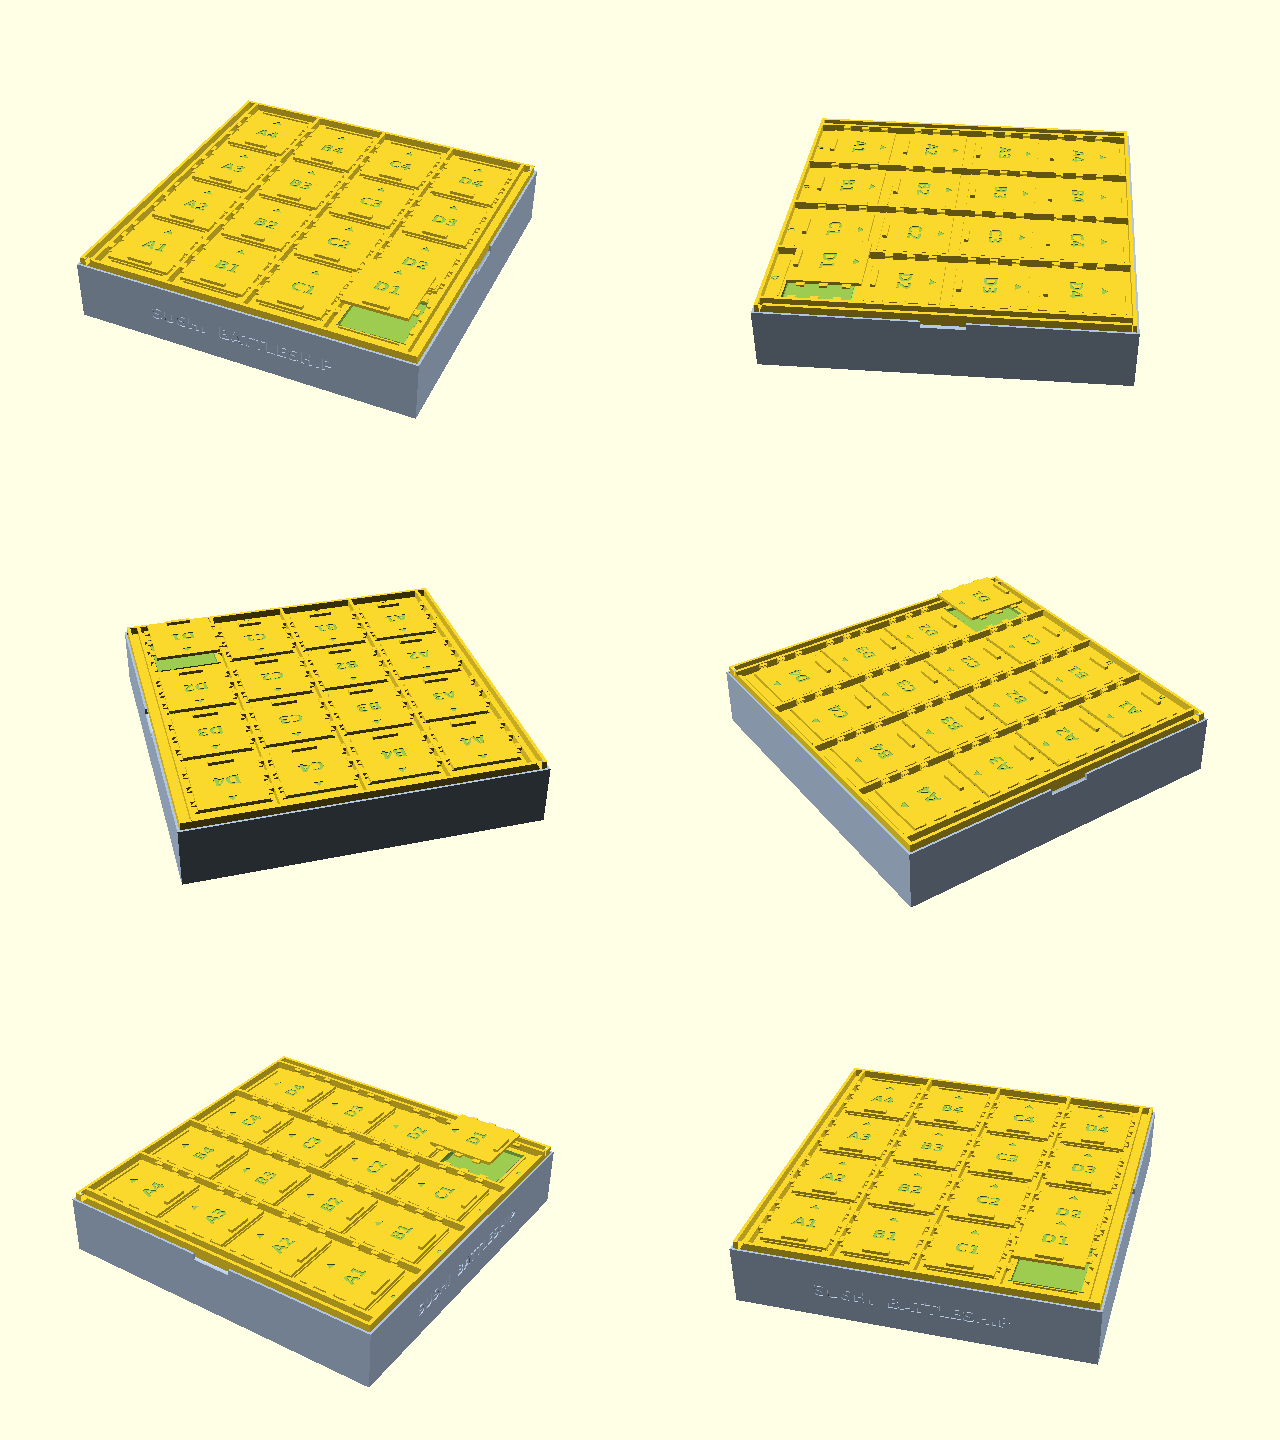
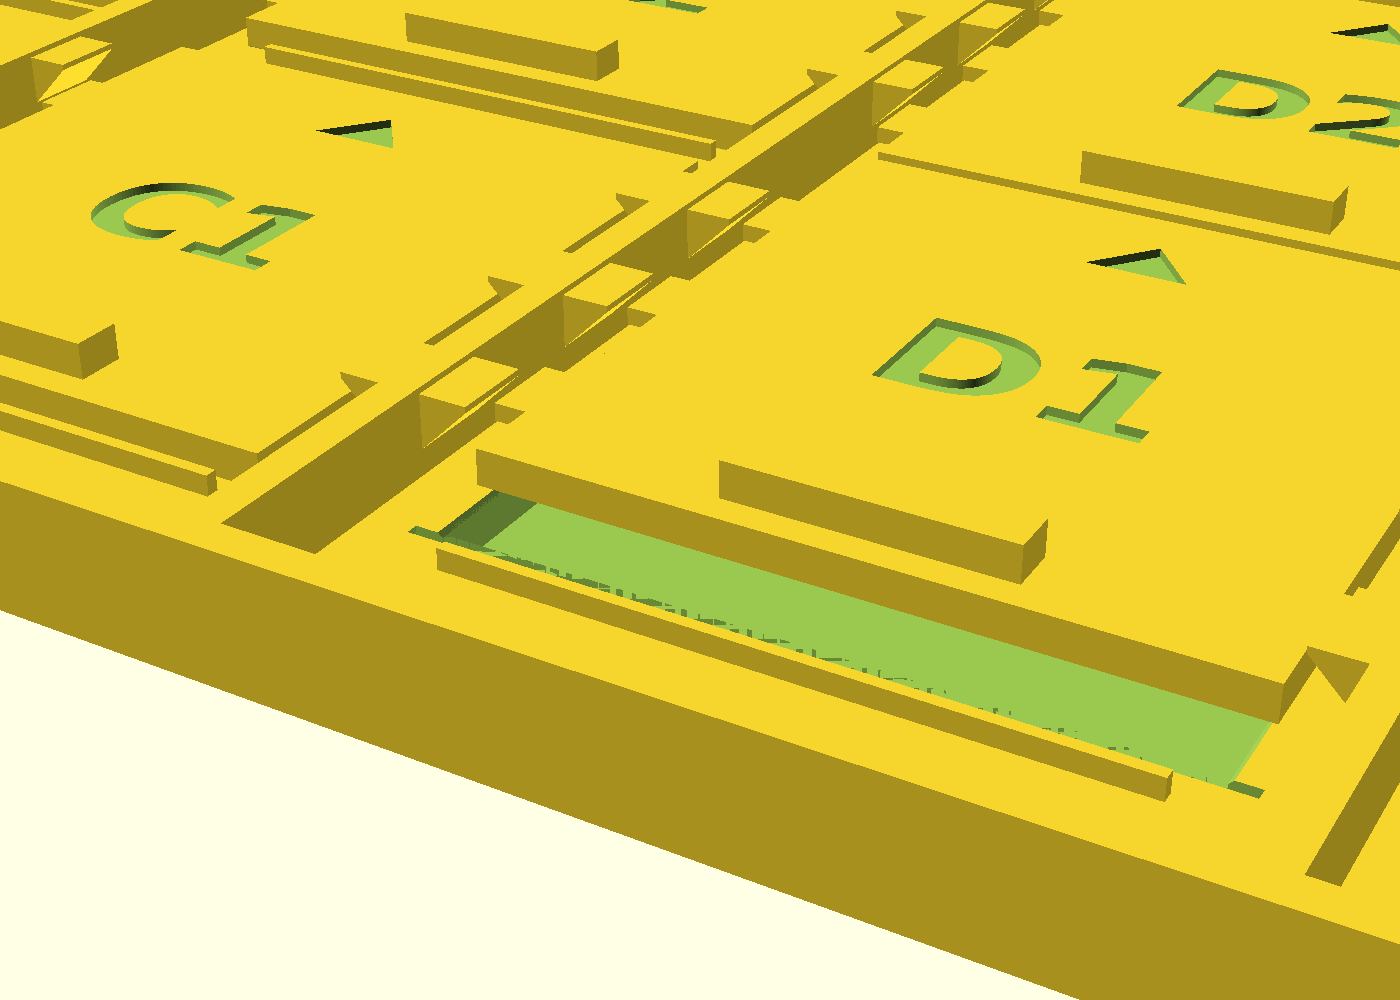
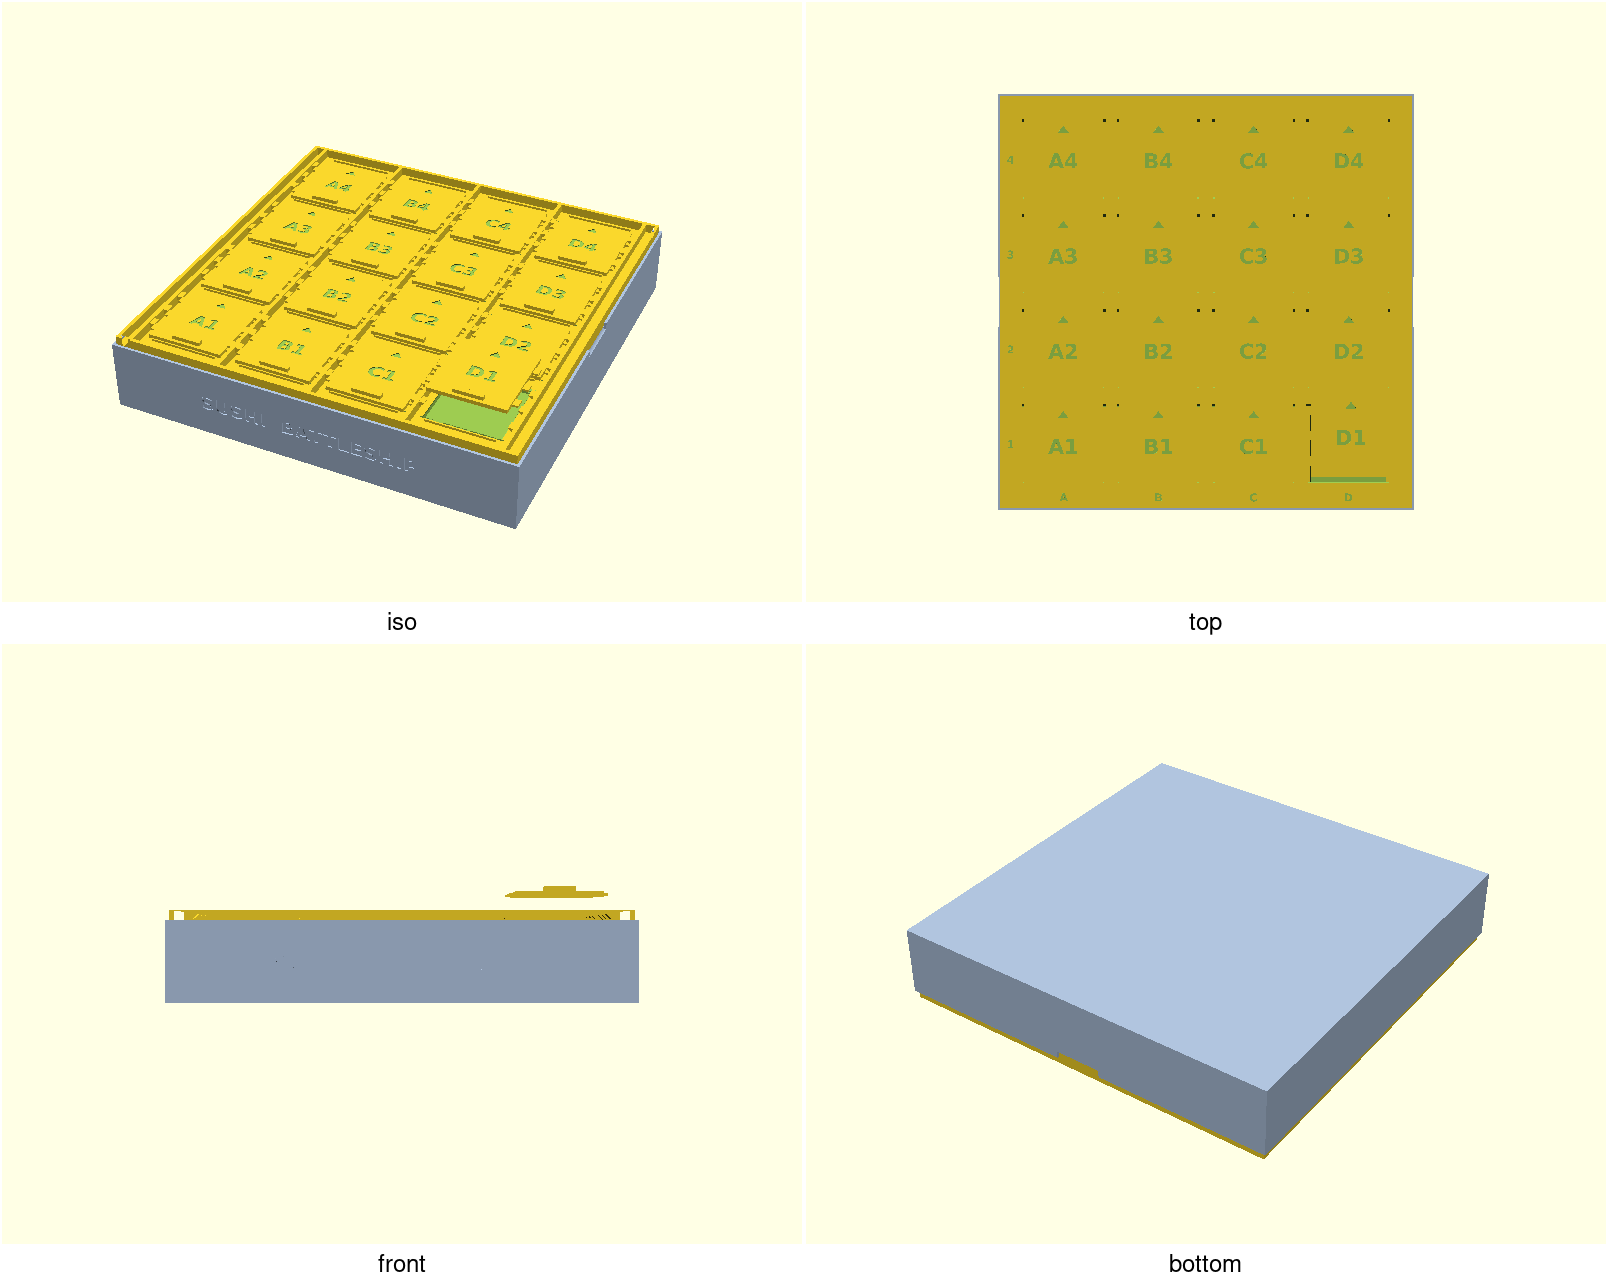
Battleship, played with real sushi. A two-part printable game board: a tray holds a 4×4 grid of cut roll pieces, and a lid on top carries one print-in-place sliding shutter per cell (A1–D4). Call a shot; on a "hit" your opponent slides the shutter ~6.7 mm until it stops, lifts it out, and you eat the piece underneath. Closed shutters are locked and cannot be lifted, so nobody peeks. No supports, no hardware, no assembly — the shutters print captive in the lid and free up with one firm push each.
What you get
Three printable parts, selected with the part parameter (the default
part = "assembled" is a preview only) or via the tiny per-part
wrapper files:
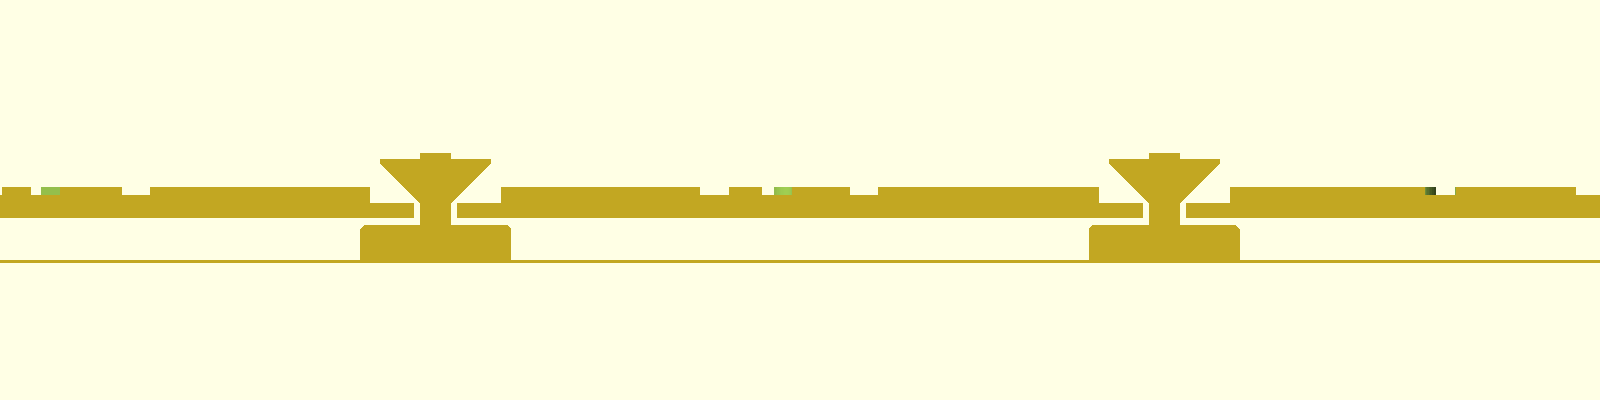
bottom(sushi-battleship-bottom.scad) — the tray, ~254 × 254 × 44 mm at defaults: 4×4 cells sized for a ~40 mm cut roll piece, low dividers, cell coordinates engraved in each floor so ships can be placed by call-out, tall outer walls, and a rebated rim the lid drops into.top(sushi-battleship-top.scad) — the lid, 250 × 250 mm: sixteen print-in-place shutters, each engraved with its coordinate and a slide-direction arrow, plus a raised grip bar for pushing/pulling.door(sushi-battleship-door.scad) — a single spare shutter. Thedoor_fittuning knob changes only the door, never the lid or tray, so a re-tuned door drops straight into an already-printed board.
Plus a test coupon, sushi-battleship-coupon.scad — see below.
Print the coupon first
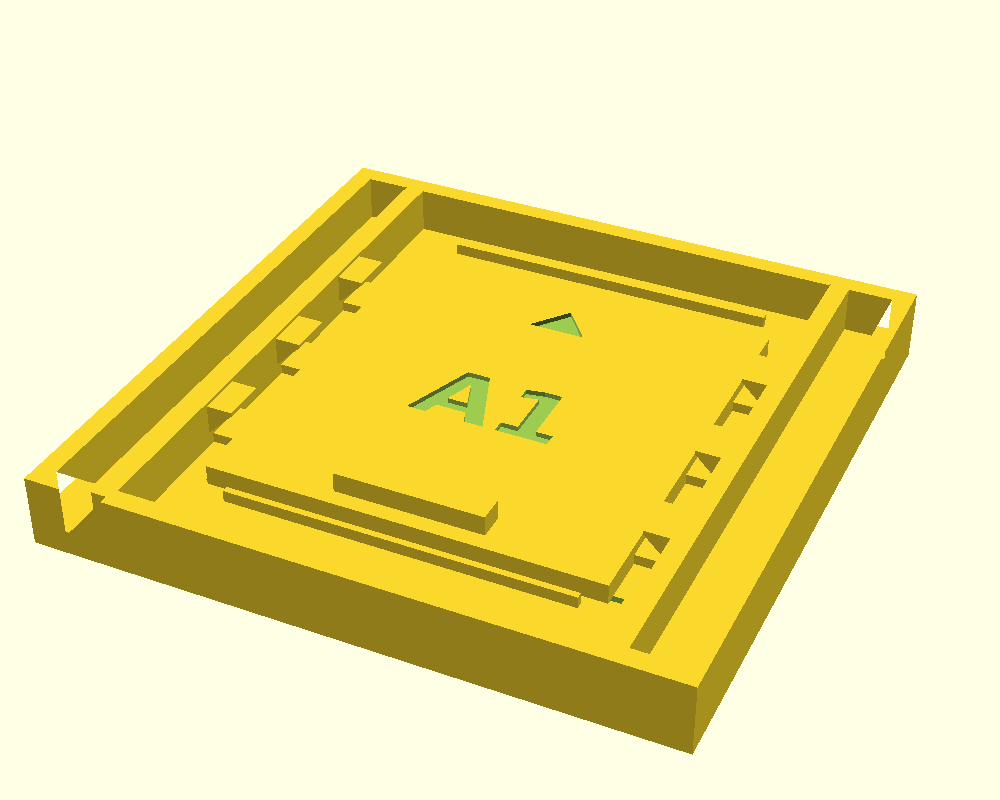
The coupon is the full production lid at grid 1×1 — one complete shutter with its rails, lips, end stops, and membrane, generated by the exact code that builds the full board. It prints in ~30–45 minutes versus hours for the top. Before committing to the full board:
- Print the coupon with the settings below.
- Exercise it: free the door with one firm push toward the arrow, punch out the membrane, slide + lift the door out, drop it back in at the open position, slide forward to re-lock.
- Door welded or sticky? Reprint with
door_fit = 0.1, then 0.2, … (ceiling 0.5). Too rattly? Go −0.1 (floor −0.2). - Print the full top with your tuned
door_fit.
Print settings
- Supports: OFF — hard requirement. Any support material inside the windows or under the doors fuses the mechanism.
- Orientation: both parts flat side down, exactly as modeled.
- Nozzle: 0.4 mm (a 0.6 mm nozzle eats most of the mechanism's 0.5 / 0.4 mm clearances — not recommended).
- Layer height: 0.12–0.30 mm all safe — every common preset keeps ≥ 2 air layers under the doors.
- Material: PLA for the top (sixteen 46 mm free-air bridges in PETG
is a sag lottery on a first print; if you must, start at
door_fit = +0.1and max out bridge cooling). The tray can be any material. - Infill: your slicer's default is fine for both parts — nothing here is load-bearing. The doors slice solid; the 3 mm plates and ~4 mm tray walls get a sparse core with default profiles, which is fine.
- Brim/skirt: none. The board leaves ~1 mm of bed margin per side on 256-class beds — turn off Bambu Studio's Auto brim and OrcaSlicer's default skirt.
- Bridge direction: pin to 90° (Bambu/Orca "Bridge direction", PrusaSlicer "Bridging angle") so the door bridges run along the slide axis; auto can legitimately pick a weaker direction.
- Seam: "Back" (or scarf seam), so door seams land on the deep rear chamfer instead of mating edges.
- If doors still weld on the coupon: check "slice gap closing
radius" (keep it at the ~0.049 mm default), then step
door_fitup by +0.1.
Bed fit — the 4×4 board (250 mm lid, ~254 mm tray) targets a 256 mm-class bed, and stock profiles matter:
| Printer (stock profile) | 4×4 board | If not |
|---|---|---|
| Bambu P2S, Bambu H2 class, 300-class and larger | fits | — |
| Bambu X1 / P1 series | does not fit centred — the stock profile's 18 × 28 mm front-left exclusion zone clips even the 250 mm lid | print 3×3 (192 mm), or knowingly edit the printable area |
| Prusa CORE One (250 × 220) | does not fit | 3×3 (192 mm) |
| Generic 220-class (Ender 3 etc.) | does not fit | 3×3 (192 mm) |
Shrinking roll_d is not a bed-fit escape hatch: the lid is still too
big long before the shutter mechanism's margins run out, and an assert
stops you at the floor (margin math in NOTES.md). Drop
grid_x/grid_y instead.
Parameters
The ones you're most likely to touch, with defaults:
| Parameter | Default | What it does |
|---|---|---|
part | "assembled" | preview only — set bottom / top / door to export printable parts |
grid_x, grid_y | 4, 4 | board size; 3×3 gives a 192 mm board for smaller beds |
roll_d | 40 mm | diameter of a cut sushi-roll piece; sets cell and window size |
roll_h | 30 mm | piece height; sets tray depth |
door_fit | 0 mm | door-only fit knob: + looser, − tighter; safe range −0.2…+0.5; tune on the coupon |
membrane | 0.2 mm | one-layer sacrificial skin under each window, punched out after printing; set 0 to omit if your bridging is well tuned |
clr_h, clr_v | 0.5, 0.4 mm | print-in-place horizontal / vertical clearances |
All parameters are at the top of sushi-battleship.scad, grouped in
Customizer sections; override on the command line with
-D 'door_fit=0.1'.
Exporting STLs
./scripts/render.sh sushi-battleship renders the assembled preview.
For printable STLs, export each part from its wrapper file:
mkdir -p build
xvfb-run -a openscad -o build/sushi-battleship-top.stl    designs/sushi-battleship/sushi-battleship-top.scad
xvfb-run -a openscad -o build/sushi-battleship-bottom.stl designs/sushi-battleship/sushi-battleship-bottom.scad
xvfb-run -a openscad -o build/sushi-battleship-door.stl   designs/sushi-battleship/sushi-battleship-door.scad
(or use -D 'part="top"' etc. on the main file). One sanity check
before slicing: the top must export with 18 CGAL volumes (outer
space + lid + 16 doors) — that's the proof that every door is a
separate, free body. Fewer volumes means doors fused in the render;
re-render before slicing.
Assembly & use
After printing the top: free each door with one firm push toward its engraved arrow, then punch each window's membrane out with a fingertip or knife — it's exactly one layer thick, about a minute for the whole board. The lid drops into the tray's rebated rim; thumb notches on the left and right expose the lid edge for lifting it back out.
To play: load the cells (suggested 4×4 "fleet": one 3-piece roll, two 2-piece rolls, two single nigiri — coordinates are engraved in the cell floors), drop the lid on, and call shots. On a hit, slide the shutter toward the high row numbers until it stops on the end-stop ridge, then lift it straight out — the removed tile doubles as a hit marker. Doors drop back in at the open position and slide forward to re-lock.
If a fit is off, reprint only what's needed: the coupon (or a spare
door via sushi-battleship-door.scad) with a new door_fit — the lid
and tray never change.
Food contact: FDM prints are not dishwasher-safe or truly food-safe. Serve pieces on nori or parchment squares or in silicone cups, or seal the tray with a food-safe epoxy if it will touch food directly.
Design rationale, margin math, and the full per-decision engineering log live in NOTES.md.